
How I Learned to Avoid Blurry Wildlife Photographs

Published by Gabriel in 2. Photography hint and ideas · Friday 19 Jun 2026 · 3 minutes
Tags: camera, setting, blurry
Tags: camera, setting, blurry
How to avoid Blurry Wildlife Photographs
I have returned from more than one safari convinced that I had captured a strong photograph, only to discover later that it was not as sharp as it appeared on the camera screen.
The light was beautiful and the moment was there—but on a larger screen, the subject looked soft.
Over time, I realised that blurry wildlife photographs are rarely caused by one problem. They usually result from several small decisions involving shutter speed, autofocus, exposure, composition and cropping.
In This Short Guide
Work out what caused the blur
When a photograph looks soft, I zoom in on the eye and check what else is sharp. If the grass in front of the animal is crisp, the camera may have focused too near. If the body is sharp but the head is blurred, the animal probably moved during the exposure. If stationary details are blurred too, camera movement is a likely cause. Each clue tells me what to change for the next frame.
Choose a shutter speed for the animal’s movement
Even a resting animal can flick an ear or turn its head. With a 600 mm lens, I often start around 1/1250 s for a still subject. In good light, I might use around 1/1600 s for a walking animal, 1/2000 s for running wildlife or splashing water, and 1/2500 s or faster for birds in flight. These are starting points. The animal’s speed, the light and how steadily I can support the lens all affect the setting I choose.
Check where the autofocus has landed
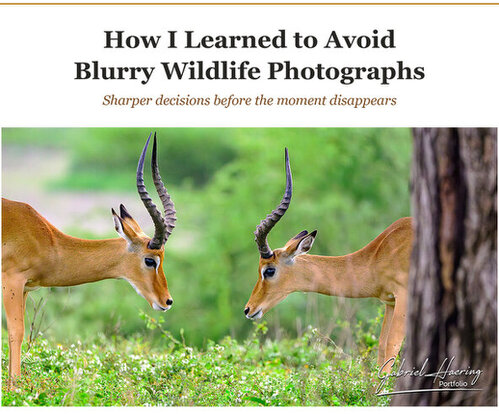
I use continuous autofocus and aim for the eye in most wildlife portraits. Animal-eye detection helps, but grass, branches or a second animal can draw focus away. In a busy scene, check where the focus point has landed before the next burst. When two animals interact or I need more of the head in focus, I sometimes use f/7.1 to f/10, provided the light lets me keep the shutter speed I need.
Give the subject enough exposure
I used to keep ISO low and brighten dark files later. Fur and feathers often looked muddy when I lifted the shadows. When light falls, I open the aperture if I can spare the depth of field. I slow the shutter only if the animal’s movement allows it. If I still need more brightness, I raise ISO and check the highlights, especially on pale feathers or fur.
Compose for the detail you’ll need later
A heavy crop leaves fewer pixels on the subject and makes any softness more visible. If an animal is distant, I try to build a wider composition that shows its habitat. When I can frame it more tightly without disturbing it, I do that in the field. Sharpening and noise reduction can polish a usable file. A quick magnified check of the eye while the animal is still there gives me a chance to correct focus or shutter speed and take another frame.
Download the Complete Guide
Would you like the detailed version with practical shutter-speed ranges, autofocus advice, exposure recommendations and a field checklist you can keep with your camera equipment?
Enter your email address below to access the complete downloadable article.